
I found that once I got the approximate section lengths close, I could use a good sanding block to slowly true all the sections up. It was slow and tedious and I'm certain there are a thousand better ways to do it, but at the time it was all I could go by. I'll let you in on a little secret I did learn though... you can make all the pain go away, well most of it anyway, by simply resigning yourself to leaving a gap at the top of your rosette with the intention of covering it over later with the fingerboard. Being a purist (or more aptly put - anal) I refused, but had my work taken just a few more hours, I would have succumbed to the easy method too.
Once I had routed the channel in the soundboard, I checked it to make sure all the pieces fit. I found that it was just a little too tight and went back to widen it just a smidgen. When I was finally happy with everything, I labeled each piece in order, set them aside, and got the LMII instrument glue out. I made sure a thin layer of glue covered all surfaces of the rosette channel and then put each piece in. Once everything was in and properly positioned, I used go bars to apply pressure to every piece to make sure none popped out of place.

The real education came when I realized I had almost an eighth of an inch of hardwood that stood proud of a properly thinned soft spruce soundboard! Despite this being the standard way of doing things, I vowed next time I'd place and glue the rosette before I thinned the soundboard with the wide belt thickness sander. I tried hand sanding the rosette with a series of block sanders but found little success and a lot of frustration with how slow the process was. Enter the micro gouge! With this little Flexcut baby I could maintain the precise control I needed to save from destroying the soundboard itself while removing a lot of material in a short amount of time. If you have one, I highly recommend you try it.

Once I got most of the material removed and got close to the soundboard face, I switched back to sanding blocks with much more success. When everything was about flush I decided to fill in any small gaps with CA glue mixed with fine sanding dust. Once everything was dry again I finished the rosette off with a long, straight cabinet scraper, which worked wonders! Now my problem is, how to get that great edge back on the scraper...


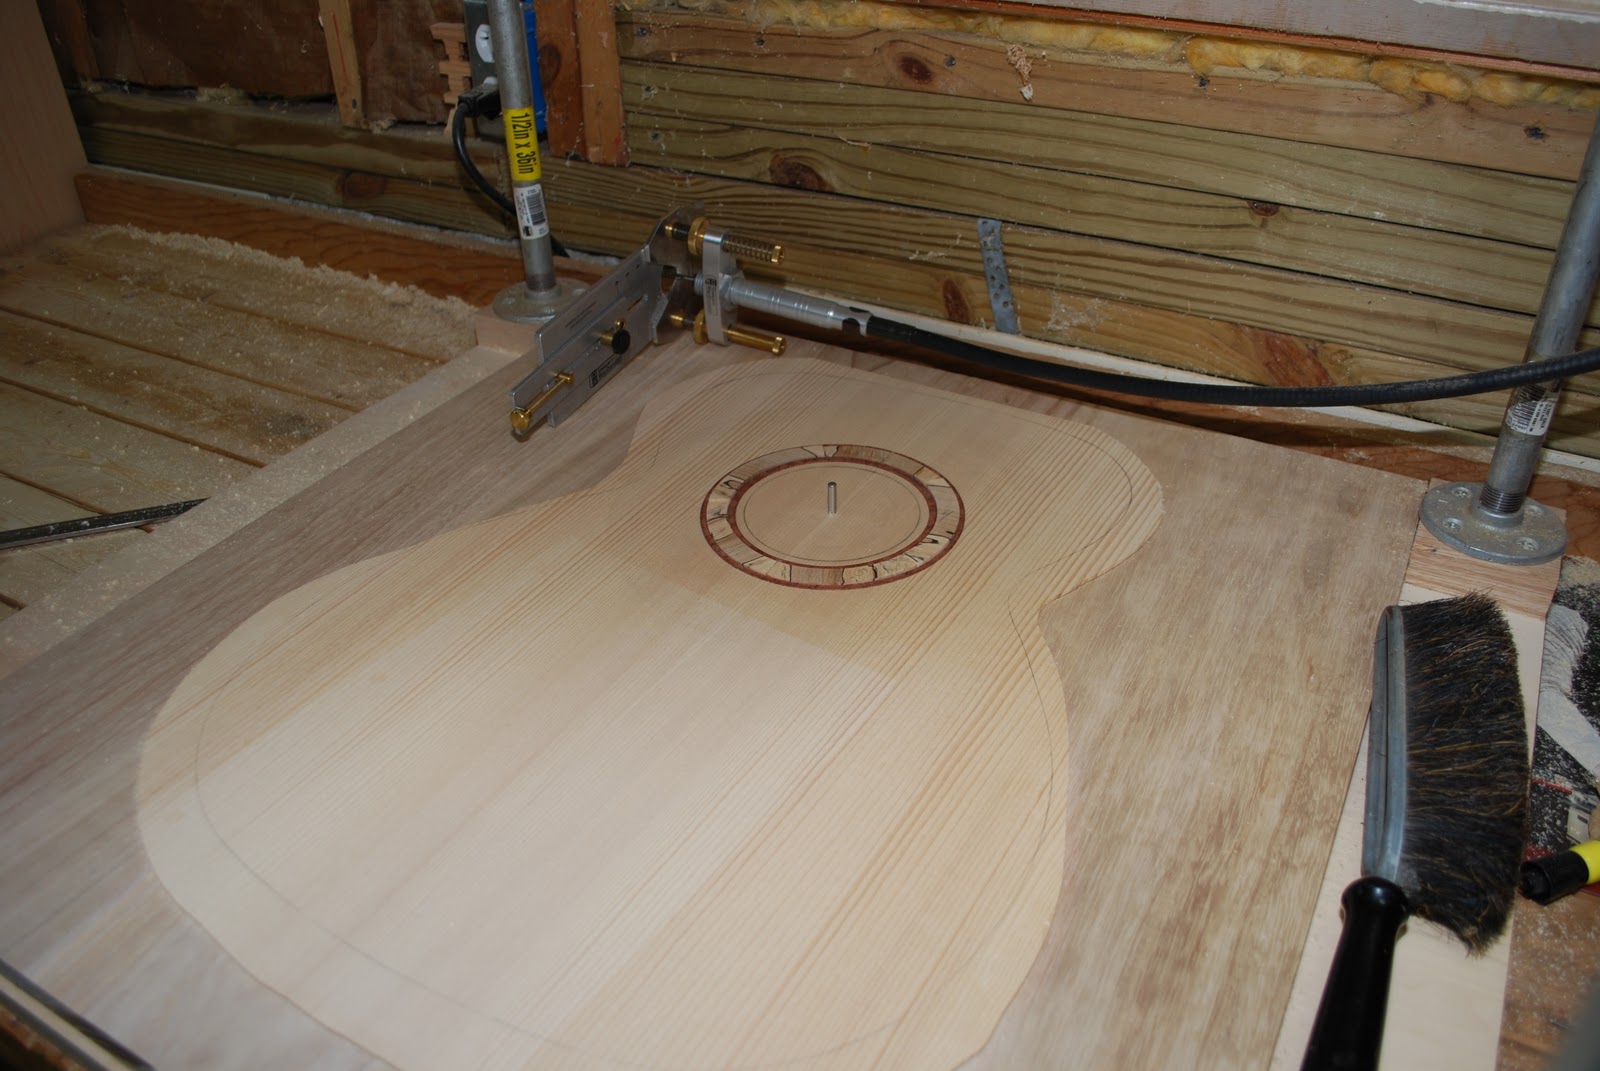
And it's many many months later. Here's the completed rosette and soundhole (though I do recommend you wait to cut the soundhole until you've marked the back of the soundboard for your brace placements but before you actually start gluing anything!). I guess I should devote a short post strictly to cutting out the soundhole itself, but we'll save that for another day. If you're building your own guitar, good for you, and you'll figure it out -- I did...

No comments:
Post a Comment